

How To Draw An Arrow In Photoshop Cc 2017
How to depict a graphic symbol in Illustrator CC
To create this grapheme I have contrasted sharp edged geometric shapes with more gestural hand painted shapes originally painted in my sketchbook. The Pathfinder and Prototype Trace palettes in Illustrator CC are platonic tools to enable this constructive combination. In this tutorial I will explain, pace past stride, how I have used both palettes create this illustration.
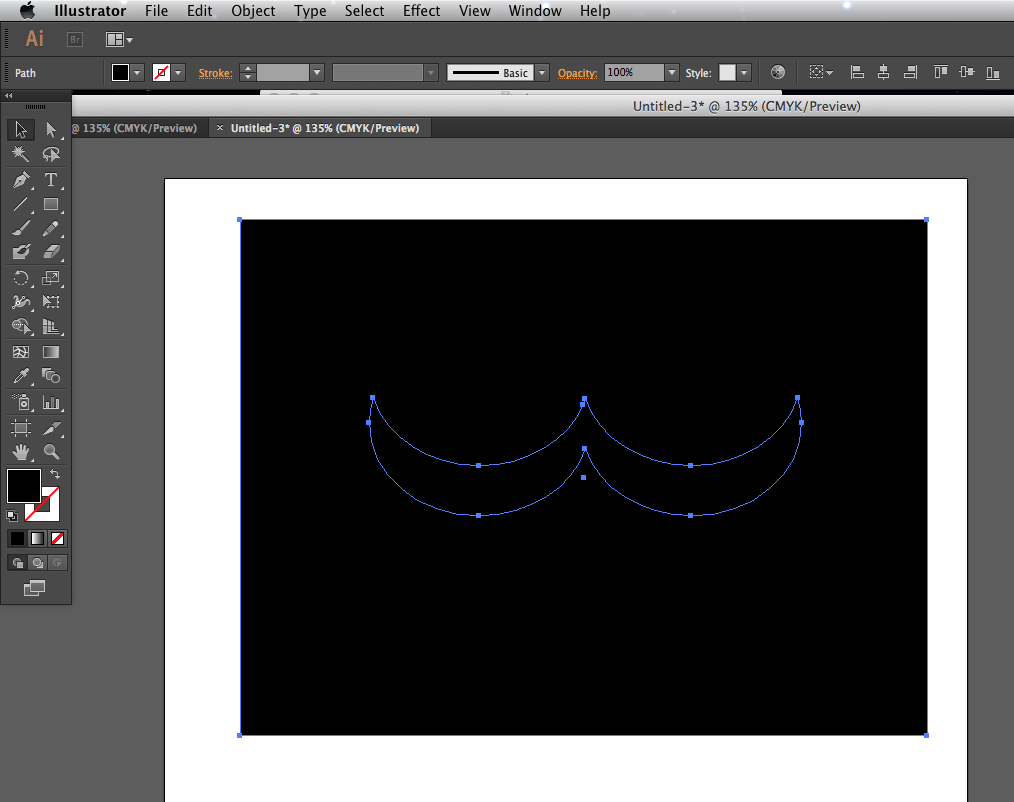
Step 01

To make the moustache basic shape, draw an ellipse using the Elipse Tool in the top menu bar on the left hand side of the pasteboard. Using the Selection Tool click on the shape and click Alt to duplicate, press Shift and drag the duplicated shape to the right (this will keep information technology in line). Overlap the two ellipses slightly.
Pace 02

Highlight the two new shapes using the Selection Tool press Alt and elevate higher up and press Shift to proceed information technology in line and bring to the front (Object Arrange>Bring to front end). Yous are going to use this shape to crop the objects underneath to make the basic moustache shape.
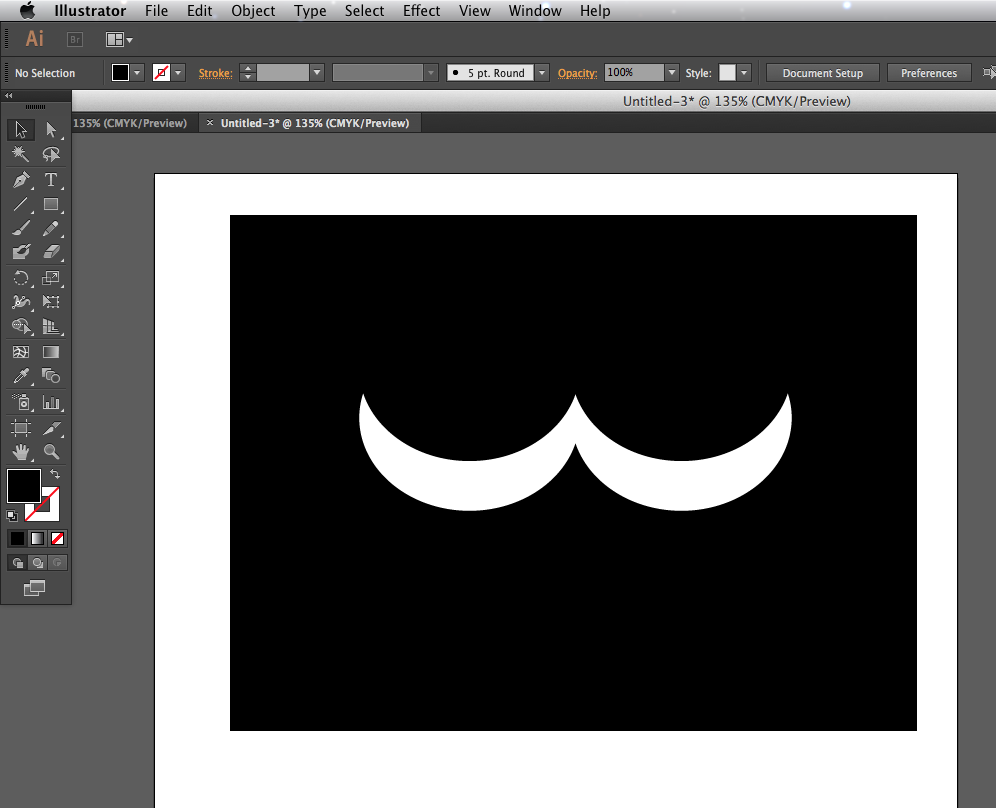
Stride 03

Once yous are happy with the moustache shape, select all the the shapes y'all have fatigued using the Choice Tool. Go to Window>Pathfinder to bring up the Pathfinder Window. Click Crop then ungroup Cmd+Shift+G. Delete the white shapes to reveal the moustache shape.

You volition notice that where the 2 ellipses have overlapped have separate the shape. Highlight the entire shape once again and printing Merge in the Pathfinder Window, this volition join the shape again.
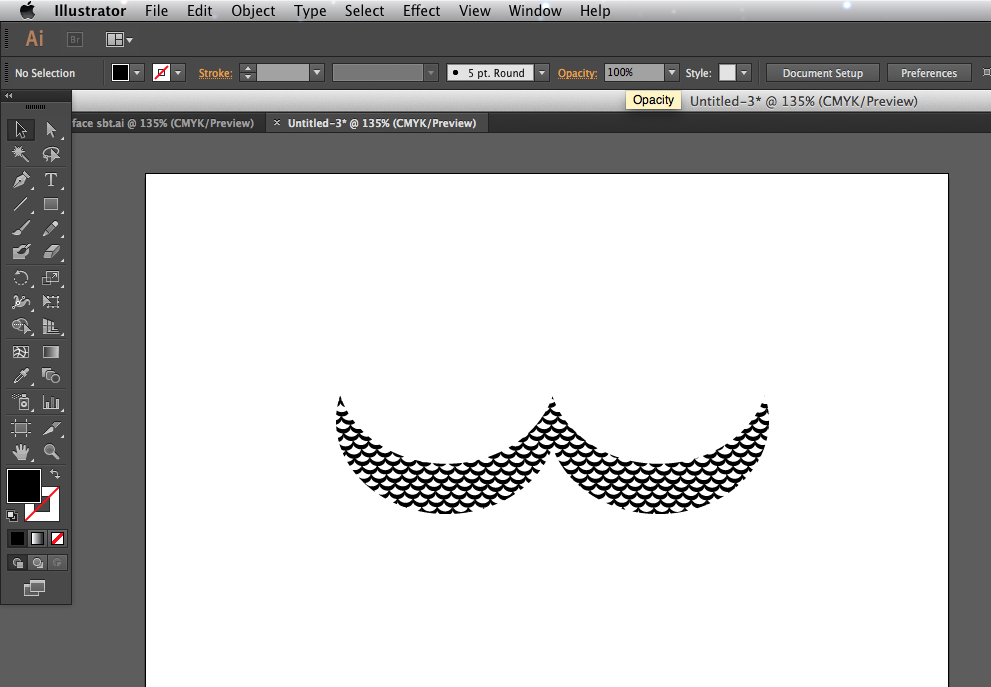
Pace 04

I now want to add together a pattern to the moustache to requite it texture. The pattern is made from the moustache shape that has been made much smaller and repeated. Highlight the moustache shape, press Shift and drag inwards to make it smaller, now highlight and press Alt+Shift to duplicate and go along in line. You lot tin can utilize these commands to keep repeating the little moustache shape.
Step 05
We now need to make a template in order to punch out the pattern shape in illustrator. Elsewhere on the pasteboard, draw a big square backside the moustache, printing Separate on the Pathfinder Palette, so Cmd+Shift+1000 to ungroup. Click the inner moustache shape and delete.
Step 06
Now overlap the rectangle with moustache shaped punched out over the repeating design you have created, highlight the unabridged affair with Pick Tool. Now press Trim in the Pathfinder Palette, ungroup and delete the black rectangle. Information technology is helpful now to group the paradigm.
Footstep 07
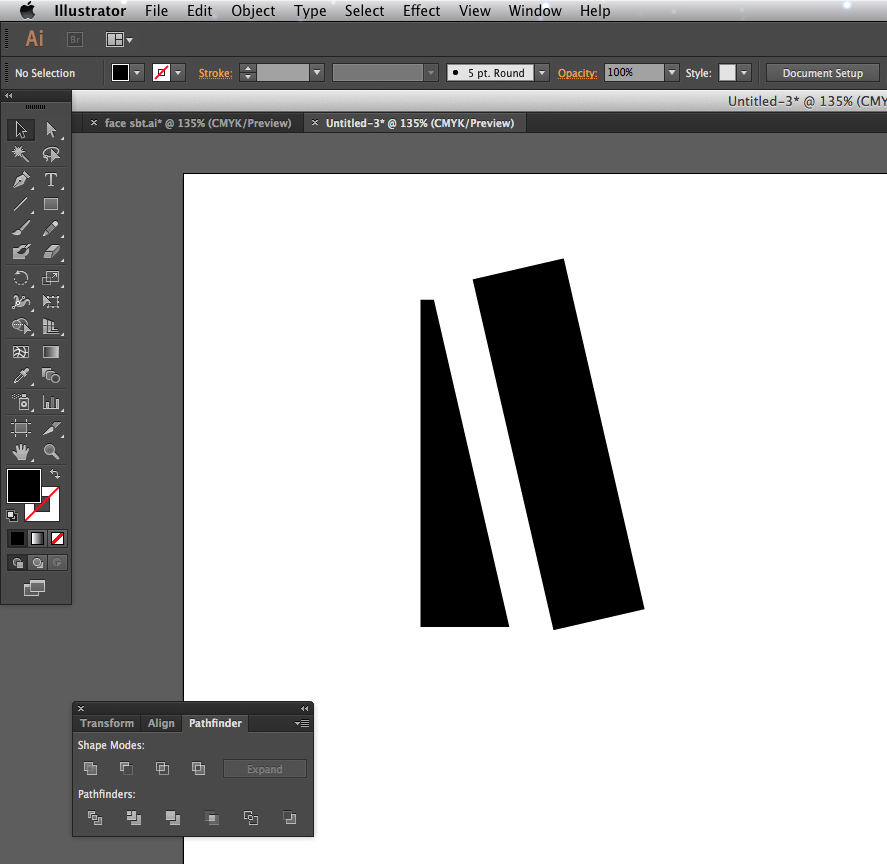
The nose is just a rectangle, clipped past using the same duplicated shape and turned at an angle, then using Trim in the Pathfinder Palette. The eyes are created using the Circle Tool in the tool palette.
Step 08

The cheeks and the eyebrows started life in my sketchbook using a brush and black ink. Scan the ink drawings and elevate and drib into the Illustrator document.
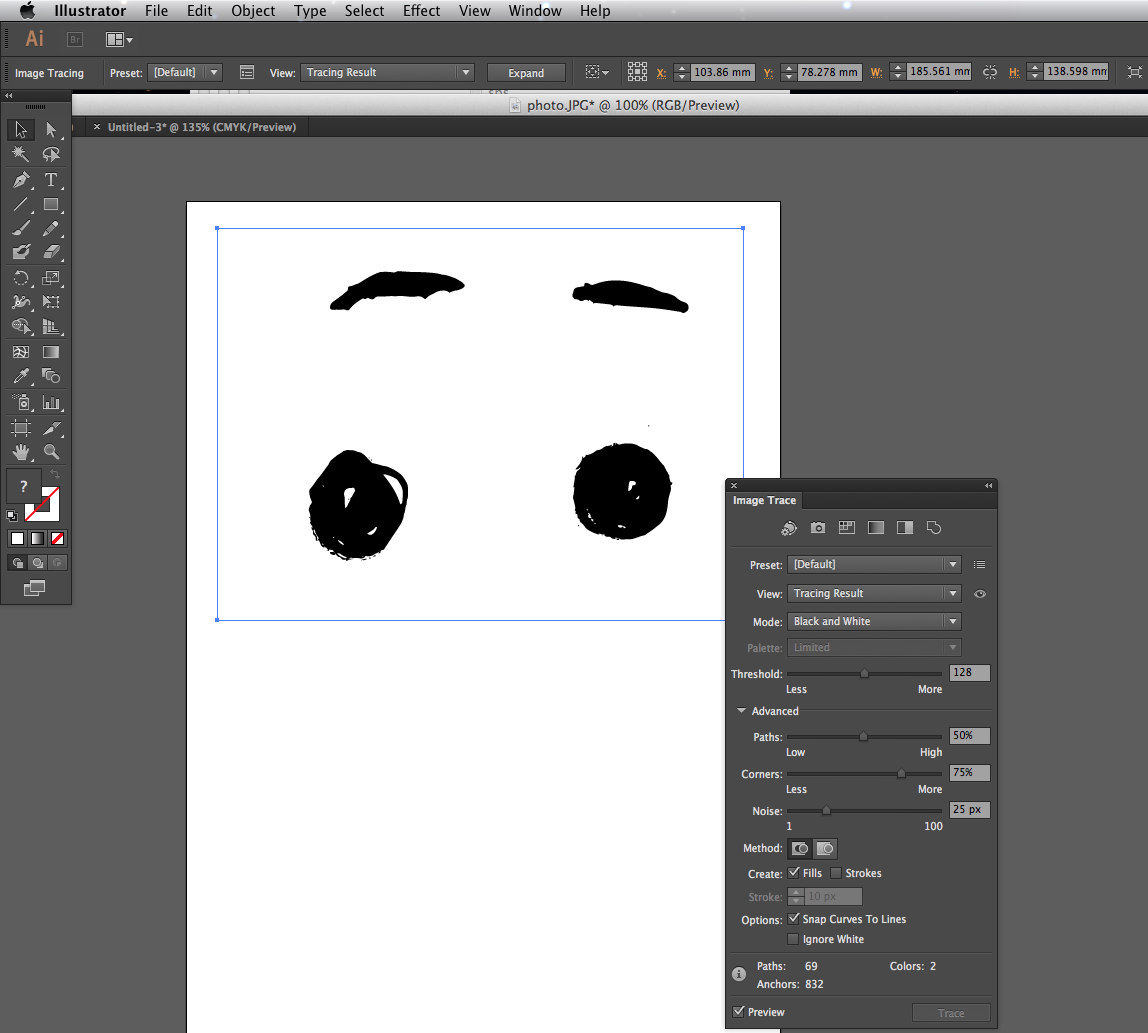
Step 09
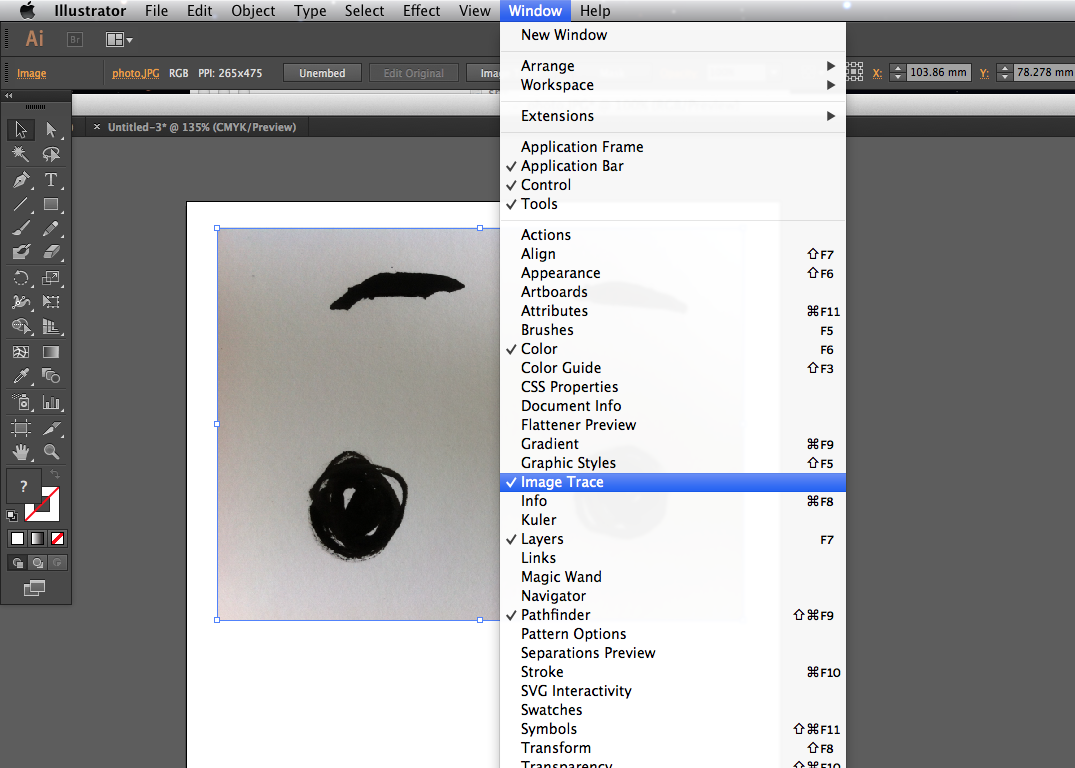
Now click on the jpg and go to Image>Image Trace and click Preview in the bottom left corner. This converts the jpg into a vector paradigm which you can adjust past using the Threshold, Paths, Corners and Dissonance toggles in Advanced until you are happy with the finished effect.
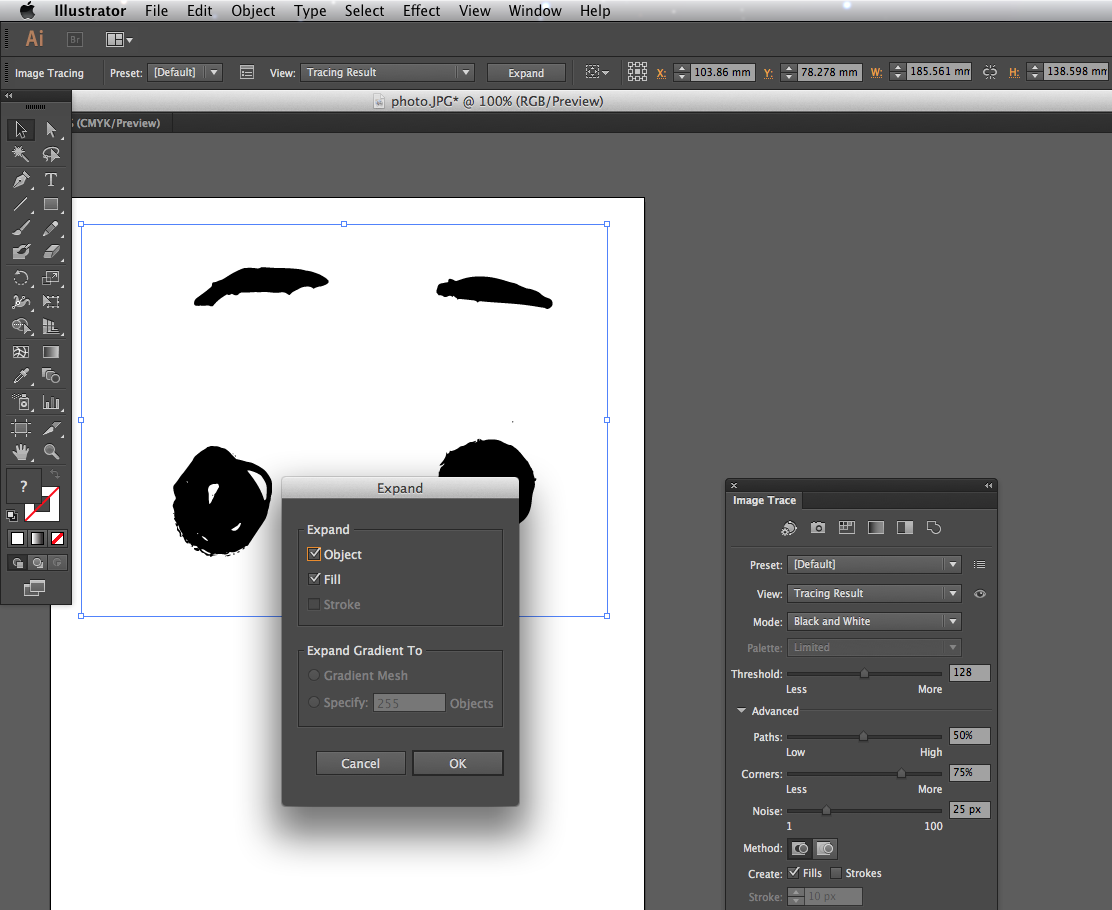
Footstep 10
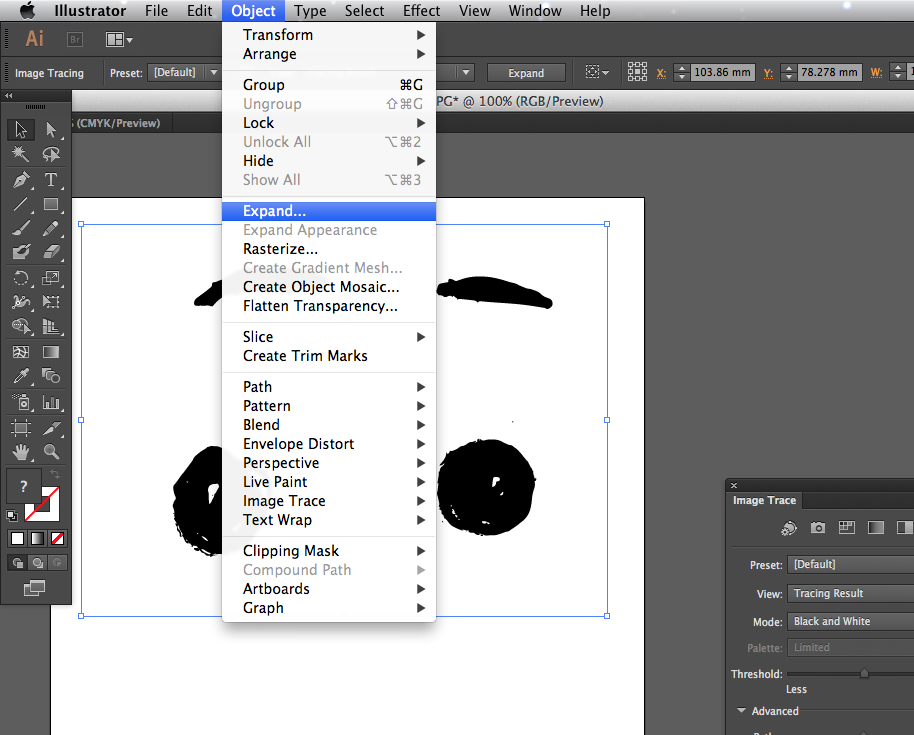
When you are happy, press Object>Expand on the top carte du jour bar, make sure Object and Fill are clicked and press OK. The vector will be naturally grouped on several levels, press Ungroup a few times and you are and then ready to edit and combine the vectors with the remainder of the analogy. Spend some fourth dimension composing all the elements through trial and mistake.
I enjoy playfully recycling parts of the illustration, the eyes are created using the brows and cheeks together, I changed the colour to white and put them on top of the blackness circles.

What is fantastic about Adobe Illustrator is that you tin can play effectually with space combinations making a family of characters or just tweak until you are satisfied, unlimited undos are your friend!
Words: Anna Wray
Anna Wray is an illustrator/author and a visiting lecturer on the Ba(Hons) Analogy at Cambridge School of Art. Check out her work and writing on her website.
Liked this? Read these!
- How to build an app
- The all-time 3D movies of 2013
- Discover what's next for Augmented Reality
Related articles

How To Draw An Arrow In Photoshop Cc 2017,
Source: https://www.creativebloq.com/illustrator/character-pathfinder-image-trace-11135181
Posted by: hannahexis1960.blogspot.com
0 Response to "How To Draw An Arrow In Photoshop Cc 2017"
Post a Comment